Candle making transforms simple materials into glowing creations that light up homes and hearts. This DIY craft offers a creative outlet, perfect for crafting homemade gifts or building a small business. Candles bring warmth and ambiance, and mastering this skill allows anyone to customize scents, colors, and shapes. This guide provides a step-by-step path to create stunning candles while ensuring safety and quality.

Essential Tools and Materials for Making Candles
Crafting candles requires specific tools and materials to achieve professional results. A well-prepared workspace streamlines the process and ensures safety. Key items include a double boiler for melting wax, a thermometer to monitor temperatures, and wicks suited to container sizes. Fragrance oils and dyes add personality, while molds or containers shape the final product.
- Double boiler: Melts wax evenly without burning.
- Thermometer: Ensures wax is at the correct temperature (e.g., 85°C for pouring).
- Wicks: Choose cotton or wooden, sized for candle diameter.
- Fragrance oils: They produce a unique long-lasting scent.
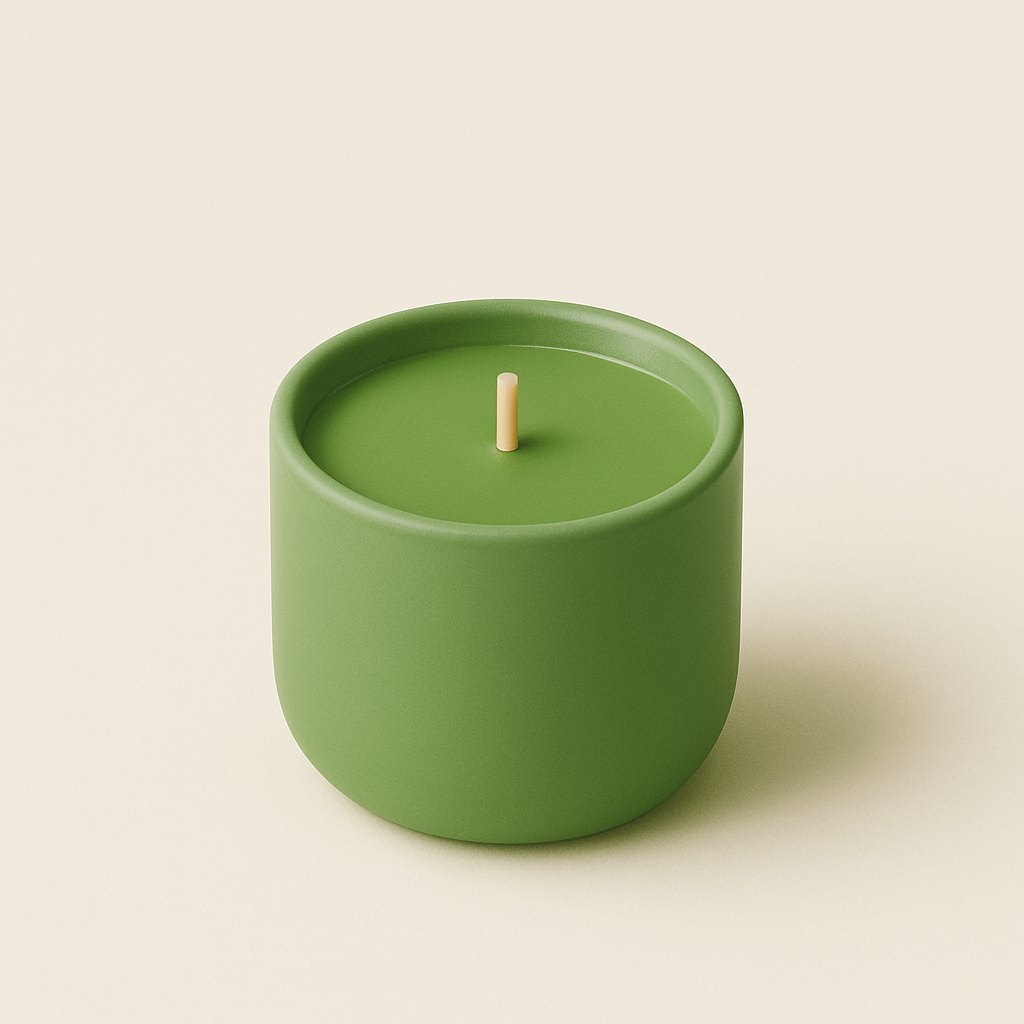
- Containers or molds: Glass jars or silicone molds for versatility.
- Pouring pitcher: For precise wax pouring.
These materials form the foundation of candle making, enabling beginners to start with confidence.
Choosing the Right Wax for Your Needs
Different waxes suit specific candle types, from container candles to pillars. Each wax has unique properties, affecting burn time, scent throw, and appearance.
- Soy wax: Derived from soybeans, eco-friendly, with a density of 0.88. Melts at 45–50°C, ideal for containers. Holds 6–10% fragrance, requiring 7–14 days curing. Perfect for smooth, creamy finishes.
- Rapeseed wax: Plant-based, density of 0.89, melts at 40–50°C. Suits containers and pillars, holds 6–10% fragrance. Cures in 5–10 days, offering strong scent throw and matte textures.
- Paraffin wax: Petroleum-based, density of 0.87, melts at 50–60°C. Versatile for all candle types, holds 6–12% fragrance. Cures in 3–7 days, ensuring vibrant colors and glossy finishes.
- Olive wax: A blend of olive and soy, density of 0.88, melts at 50–55°C. Best for containers, holds 8–10% fragrance. Cures in 7 days, delivering smooth surfaces and excellent scent retention.
Choosing wax depends on the desired candle type and aesthetic.
Understanding Fragrance Oils and Scent Throw
Fragrance oils define a candle’s character, creating a memorable scent throw—how far the aroma spreads when lit or unlit. Cold throw (unlit) and hot throw (lit) depend on wax type and fragrance quality. High-quality oils ensure a balanced scent that lasts. Add fragrance at 70–85°C to preserve aroma compounds, using 6–10% for most waxes.
Why does this matter? Proper fragrance integration prevents weak scents or oil seepage. Test oils with small batches to confirm compatibility with wax.
How to Color Candles Safely and Effectively
Coloring candles adds visual appeal, but safety is key. Use dye chips or liquid dyes formulated for candle making, as regular food coloring can disrupt burning. Add dyes at 80–85°C for even distribution, starting with small amounts (0.1–0.5% of wax weight). Test colors on a small batch to avoid overpowering the wax or affecting burn quality.
Why is this important? Safe dyes prevent wick clogging and ensure clean burns. Pastel shades suit delicate scents, while bold hues enhance dramatic fragrances. Stir thoroughly to avoid streaks, creating a polished, professional look for homemade candles.
Step-by-Step Guide to Making Your First Candle
This step-by-step guide simplifies the process, ensuring your initial foray into candle making is a success.
- Prepare Your Workspace: Cover your work surface to protect it from spills. Ensure you have all your materials and tools ready:wax, wicks,fragranceoil, dye (if using), pouring pot, double boiler, thermometer, stirring utensil, and chosen containers. Safety first: keep flammable items away and ensure good ventilation.
- Measure and Melt the Wax: Weigh the required amount of wax using a scale. Place the wax in the pouring pot and melt it gently using a double boiler method. Stir occasionally until the wax is completely liquid. Use a thermometer to monitor the temperature according to the specific wax type’s instructions. Avoid overheating the wax.
- Prepare the Wicks and Containers: While the wax is melting, secure the wicks to the bottom center of your candle containers. You can use a wick sticker or a dab of melted wax. Use a wick holder or two craft sticks placed across the top of the container to keep the wick straight and centered.
- Add Fragrance and Color: Once the wax reaches the recommended temperature for adding fragrance (refer to wax and fragrance oil instructions), remove it from the heat. Gently stir in the measuredfragranceoil for at least two minutes to ensure thorough mixing. If using liquid or block dye, add it at this stage until the desired color is achieved.
- Pour the Wax: Check the wax temperature again; it should be at the correct pouring temperature for your specific wax. Carefully pour the melted and scented wax into the prepared containers, avoiding the wick holder. Fill to the desired level, leaving some space at the top.
- Cool and Cure: Allow the candles to cool completely at room temperature, undisturbed, for several hours or overnight. Avoid rapid cooling as it can cause cracks or sinkholes. Once fully cooled, trim the wick to about 1/4 inch before the first burn. For best results, allow your home made candles to cure for a few days to a week, depending on the wax and fragrance used, to enhance the scent throw. This curing time allows the fragrance to fully bind with the wax.
This process ensures a professional candle with a strong scent and clean burn.
Tips for Avoiding Common Candle-Making Mistakes
Mistakes in candle making can lead to poor burns or weak scents. Avoid these pitfalls for better results. Overheating wax (above 90°C) degrades fragrance, while pouring too hot (above 70°C) causes sinkholes. Use a thermometer to monitor temperatures. Incorrect wick sizes lead to tunneling or sooting—choose wicks based on container diameter (e.g., 3–4 cm wicks for 200 ml jars).
Why does this matter? Precise techniques save materials and improve candle quality. Test small batches to perfect fragrance and color, and cure candles properly to enhance scent throw. These steps elevate homemade candles to professional standards.
Safety Guidelines Every Maker Should Follow
Safety is critical in candle making to prevent burns, fires, or spills. Always work in a well-ventilated area, away from flammable items. Use heat-resistant gloves when handling hot wax, and never leave melting wax unattended. Store fragrance oils and dyes in cool, dry places to maintain quality. Following safety rules prevents accidents and preserves the joy of crafting candles.


